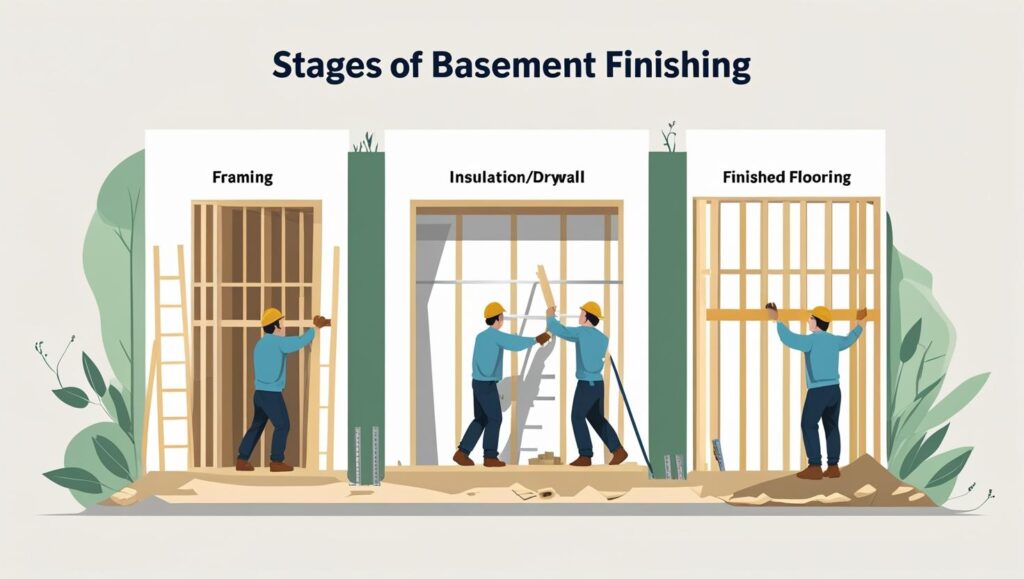
Stages of finishing a Basement
A finished basement is one of the most satisfying home remodeling projects, turning an unused area into a worthwhile, cozy, and functional space. Whether you want a family room, home theater, guest suite, or even a rental apartment, the basement finishing process has a few major Stages of finishing a Basement. Understanding every step will allow you to organize your project effectively and sidestep expensive errors—particularly if you’re thinking of a basement renovation in Edmonton, where climate considerations and building codes are a significant factor.
Let’s proceed with the key Stages of finishing a Basement, from planning through the finishing touches.
1. First Planning and Evaluation
First, step back and evaluate your basement’s present state. Begin by checking:
Moisture and water concerns: Basements in Edmonton are susceptible to moisture from snowmelt and seasonal weather. Check for signs of dampness, water marks, or mold.
Ceiling height: Make sure your basement is up to local code standards for headroom.
Layout and access: Consider the flow of traffic, stair location, and fire exits.
At this point, it’s important to decide on the intent of your renovation. Are you adding a living space, additional bedrooms, a home gym, or perhaps a rental suite? Your designs will dictate the permits required, utilities, and design options.
For anyone contemplating a basement remodel in Edmonton, it’s highly advisable to seek the advice of a local contractor or building inspector beforehand. They’ll be able to gauge the feasibility of your proposal and provide assistance with Edmonton area building ordinances.
2. Acquiring Permits and Planning the Layout
After sketching out what you want your basement to look like, the next is to obtain the necessary permits. In Edmonton, a building permit is needed for most basement development projects—particularly if you’re adding or modifying plumbing, electrical systems, or putting in egress windows.
You’ll also need to provide floor plans that include:
Room locations
Electrical and plumbing design
Window and door positions
HVAC upgrades (if required)
This is also the perfect time to think long-term. If you’re already opening up walls and ceilings, consider future-proofing the space with smart home wiring, additional outlets, or rough-ins for a future bathroom or kitchen.
3. Framing the Space
Framing transforms your raw basement into a recognizable layout. Using either wood or metal studs, the walls and any room divisions are built based on your approved design.
At this stage:
Soffits are framed to conceal ductwork, plumbing, or support beams.
Room partitions, closet partitions, and utility partitions are built.
Door and window openings are framed as per code specifications.
Basements in Edmonton tend to require insulation upgrades, so it’s not unusual to frame slightly off-center of concrete walls to leave space for insulation and vapor barriers.
This is the physically changing and most gratifying of stages. You begin to see your vision materialize in three dimensions.
4. Installation of Plumbing, Electrical, and HVAC
With framing finished, licensed professionals can now install and rough-in all mechanical systems required:
Plumbing: Water supply lines, drains, and venting for bathrooms, sinks, or laundry.
Electrical: Lighting circuitry, outlets, smart switches, and breakers.
HVAC: Duct extensions, returns, and heating vents.
These systems must be inspected before moving on. In the case of basement renovation in Edmonton, city inspectors are thorough about code compliance—especially with egress windows, fire safety, and electrical setups.Be sure to plan inspections soon to avoid delay.
5. Installation of insulation and steam barrier
The basement requires the right insulation for rest and energy efficiency, especially in a cold climate like Alberta. This step is important to make room cheerful throughout the year.
Standard insulation materials are:
Fiberglass batts
Spray foam insulation
Rigid foam boards
Next, a vapor barrier (typically 6-mil polyethylene) is put on to keep moisture out. Careful sealing is important—gaps allow for condensation, which results in mold or structural issues in the future.
6. Drywall and Mudding
It’s now time to close up the space. Drywall (also referred to as gypsum board or sheetrock) is attached to walls and ceilings on all sides.
After being installed, drywall is:
Taped at the seams
Coated with joint compound (mud)
Sanded smooth
Done repeatedly as necessary to form smooth surfaces
This process can take a few days, since the compound must dry between applications. It’s dirty work, but when it’s done, your basement begins to resemble a genuine part of the house.
7. Installation of Flooring
Before flooring is installed, make sure the concrete is dry, level, and free of cracks. Basements are damp, so moisture-resistant flooring is a must.
Some popular options are:
Vinyl planks (durable and waterproof)
Engineered hardwood (compatible with vapor barriers)
Carpet tiles (warm and readily replaceable)
Tile flooring (particularly in bathrooms or laundry)
Steer clear of conventional hardwood or laminate that can warp due to moisture.
For homeowners who are completing a basement renovation in Edmonton, it’s a good idea to add an insulated subfloor or underlayment to avoid cold feet during those cold winter months.
8. Painting and Finishing Touches
After the walls are in place and flooring is installed, you can begin individualizing your basement. Paint brightens up the area and establishes your look. Basements are well-suited to light colors, as they reflect light and create the perception of extra space.
Install finishing touches such as:
Trim and baseboards
Interior doors
Lighting fixtures
Shelving and built-ins
Cabinetry or vanities (if applicable)
Now’s also the time to add smoke detectors, CO alarms, and other code-required safety features.
9. Send and decorate
With the completion of the structure, bring furniture, blankets, curtains and decorations. This is the place where the space really lives and reflects your personality.
If your basement has a media room or bar, it is now time to install electronics, sound system or equipment. Svatteriden dresses or rental units may require different furniture and privacy ideas.
10. Final Inspections and Enjoyment
Before finally enjoying your new basement, arrange for final inspections with the city in order to close any outstanding permits. This guarantees that the work was completed safely and up to local building standards.
After you’ve been approved, it’s time to enjoy your new addition! Whether you’re having movie nights, entertaining guests, or generating rental income, a finished basement is an excellent investment.
End
A basement remodel is not merely a make-over—it’s a sophisticated process that brings significant equity to your property. By learning about every step of building, from conception to color, you can approach your renovation with assurance and purpose.
If you’re going to basement renovations in Edmonton, make sure to hire seasoned professionals who know local codes and climate issues. The right experts will assist you in making the most of space, enhancing comfort, and designing a basement that feels like home—not an afterthought.


